Chapter 3 The Rproject
This chapter provides an introduction to the R Project - an organizational tool which we highly recommend you adopt ASAP. This tool will be invaluable for reproducible research, collaboration, and integrates seamlessly with Git/Github.
When working with coauthors, each writer will need to source scripts between local machines. A common problem is that these scripts will no longer work since the file paths are “hard-coded”. For example, if your Homework 1 was part of a research project, the naive start may be something like this:
library(tidyverse)

## sets the working directory
## never use this command ever again!!!!
setwd("user/Desktop/econ_145/homework_1/")
If you were to send your script to your coauthor, it would not necessarily run on their local machine. It may be the case that you each have different files within different directories. This is a common problem, but there is one great solution: R Projects.
An R Project is a way to locally source all files regardless of computer you are operating on. An R Project automatically detects the file-path leading up to the project meaning you only have to locally source. For instance, say you created a research project folder named “research_project” on your Desktop where you keep all your files. To run a file named “regressions.R” without an Rproject, you would need to call the following using the source function:
## The source function simply runs the file that is passed to it
## note that this file path is "hard-coded" and will not work on any other machine than the one it was created on
source("user/Desktop/research_project/regressions.R")
However, with an Rproject you could simply do the following:
## this code would be able to run on any machine that has the R project
source("regressions.R")
Hence, as specified earlier, an R Project detects the file-path leading to the project folder. So in this case, every file we source will be relative to the user/Desktop/research_project/. This is terrific because R Projects will automatically detect the file-path leading to the folder, so you can send the R Project folder to any coauthor and they will be able to run the files on their local machine without making any changes.
As a secondary example, suppose you want to load in the data which is nested in the following path: “user/Desktop/research_project/data/my_data.csv”. If an Rproject was made in the “research_project” folder, then you would call in the data using the following:
## reading in the data
my_data <- read_csv("data/my_data.csv")
This is a much less error-prone way to work collaboratively, and sets you up for success for reproducibility.
Aside: If you’re less comfortable writing file-paths, you can use the here package to make the job a bit easier. here finds the file-path leading to the Rproject, then allows you to enter each folder separating the lines with a comma.
Creating an R Project is simple. Just click File->New Project in the RStudio user interface (see Figure \(\ref{makeproject}\)):
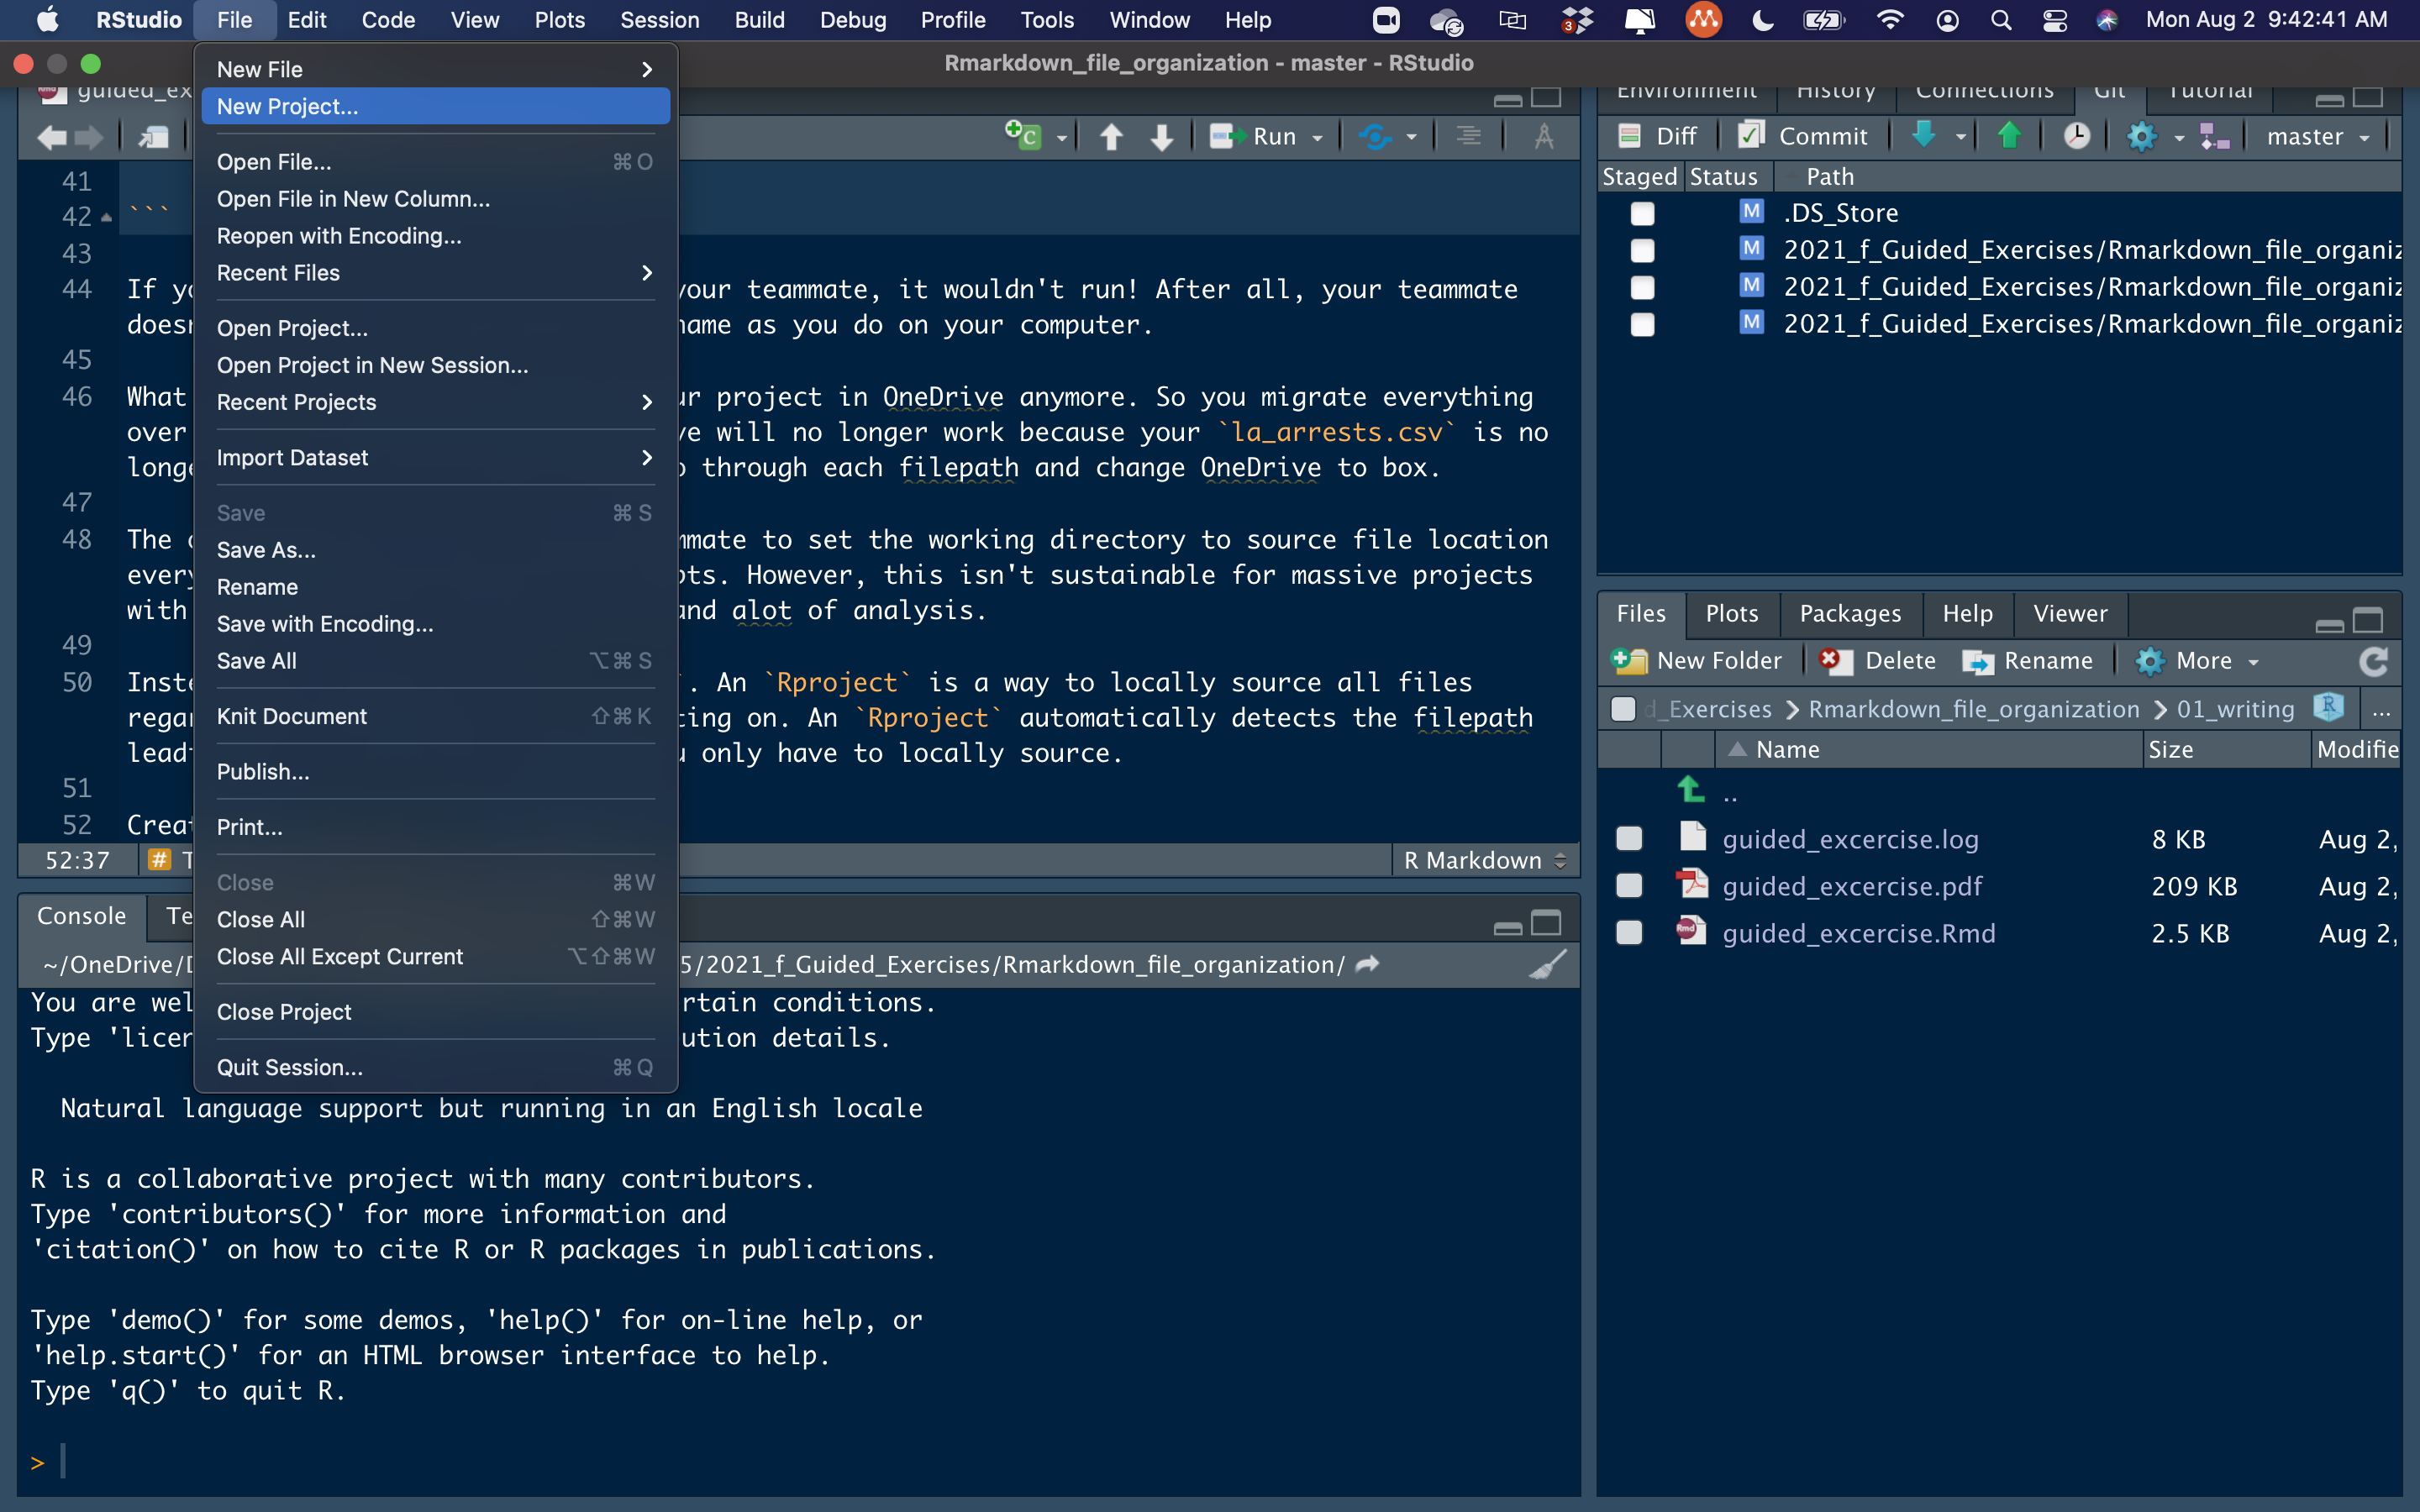
Figure 3.1: Creating a Project
RStudio also allows you to quickly switch between your projects. Figure \(\ref{switching}\) points out the R Project in the top right hand corner of the `R session. If you click on the name, the drop down appears with all of the previously accessed projects to quickly hop between projects.
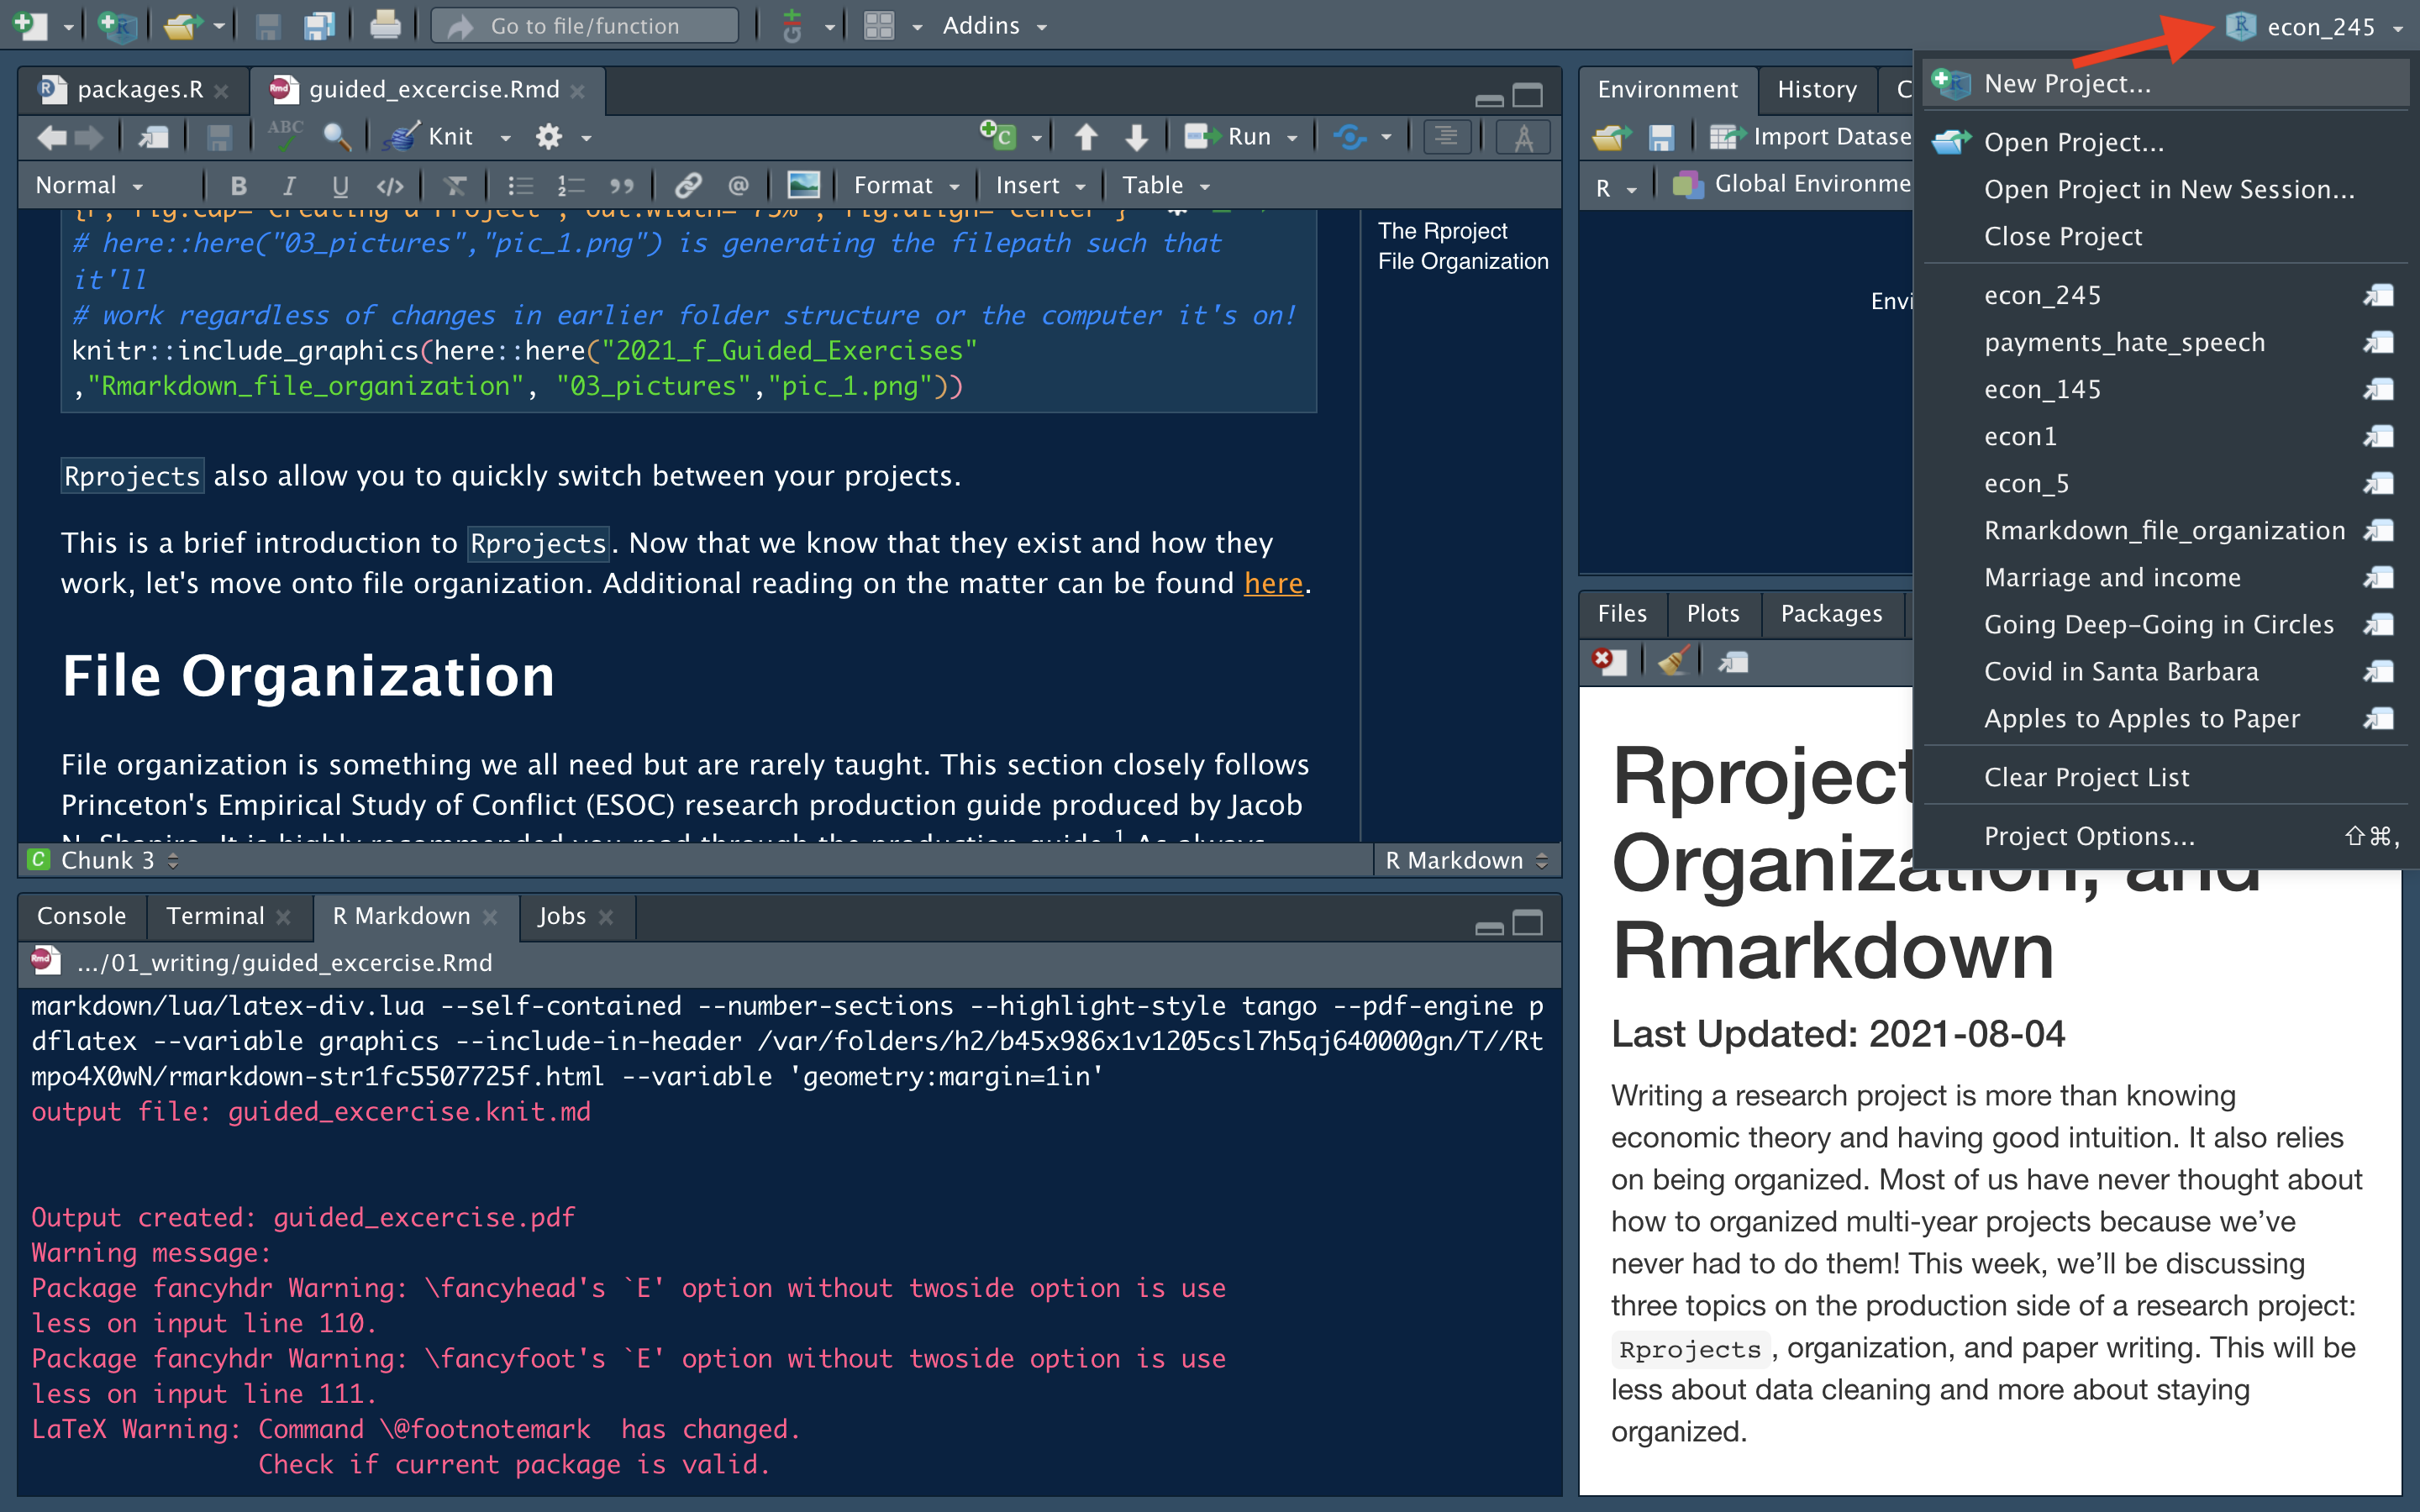
Figure 3.2: Easily Switching Projects
The other benefit of R Projects is the seamless synchronization and integration with Github, which will be covered soon.
This is a brief introduction to Rprojects. Additional reading on the matter can be found here. We highly recommend you adopt R Projects from the very beginning of this course - it will save you a ton of time later on!